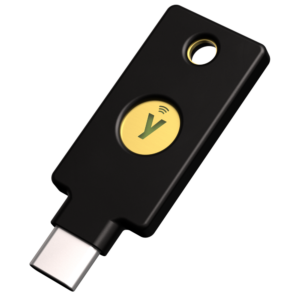
I recently finished setting up YubiKeys on my personal MacBook to bring me one step closer to going passwordless. I initially only purchased the YubiKey 5C NFC, which works both as a USB security key on a laptop as well as with a mobile device using NFC.

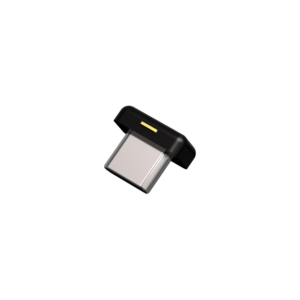
I used this to start setting up MFA on websites that supported security keys (sadly, not all of them do). Once I had a good handle on the setup and usage of the YubiKey, I purchased a second one (most websites will tell you that you should have two keys to protect yourself in case one gets lost). This time, I purchased a YubiKey 5C Nano.

The nice thing about the YubiKey 5C Nano form factor is that it can be inserted into a laptop’s USB-C port and provide a minimalist security key setup. I inserted this into my MacBook laptop and left it there. This provided me with a setup where my main security key is always attached to my main personal computer.
A few things I’ve noticed after purchasing and setting up the YubiKeys:
- Some providers like Google and Microsoft are built with security keys in mind. On Google, I was able to enroll in the Advanced Protection Program once I had two security keys. According to Google, this provides a higher level of security to my account. With my Microsoft Outlook account, I was actually able to enable Passwordless authentication. Whenever I authenticate to that account now, I am prompted to use my security key to authenticate. This is the closest I’ve seen to passwordless.
- Curiously, some of my bank accounts are built on MFA codes as opposed to security keys. It seems their IT departments have not gotten around to writing code for allowing security keys for MFA.
- On my MacBook, I’ve noticed that the security key prompts work much better when accessing sites using Chrome vs. Safari. On Safari, I would have trouble getting the security key prompts to show up. When I switched over to Chrome, I would be prompted for my security key with no issue.
- One feature I ended up abandoning was the Yubico Authenticator. While I found it nice to be able to use my YubiKey 5C NFC against my mobile device whenever I launched the application (which definitely seems more secure), I found that I do not like to carry my YubiKey 5C NFC around with me for fear of losing it. Without that security key, any site I access on a PC different from my MacBook would be fairly inconvenient. While I have not ruled out re-visiting this in the future, I have reverted most of my MFA codes back to Google Authenticator for the time being.
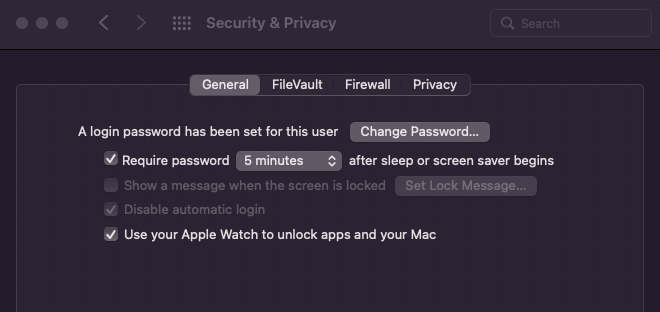
I did also setup my Yubikey as a smart card for my MacBook login (again, trying to get closer to passwordless). I followed these instructions on my Intel-based Mac (instructions for newer Apple M1/M2 seems a little different). Once I got this to work, I did end up seeing that I no longer had to type in my password for my MacBook, just a six digit PIN. While this worked fine, I did also have my MacBook set to auto-unlock with my Apple Watch.

The two workflows look like they interfere with each other, which caused me to enter a PIN each time to unlock my laptop. I ended up going into the YubiKey Manager program installed on macOS and disabling the PIV option, which disabled the smart card functionality. This allowed me to auto-unlock my laptop with my Apple Watch, which is actually a smoother process.
Completed November 2022.